Posted on

Track and Cut at Once? Putting the Cangini TC1-60 to the Ultimate Test

Track and Cut at Once? Putting the Cangini TC1-60 to the Ultimate Test

Introduction

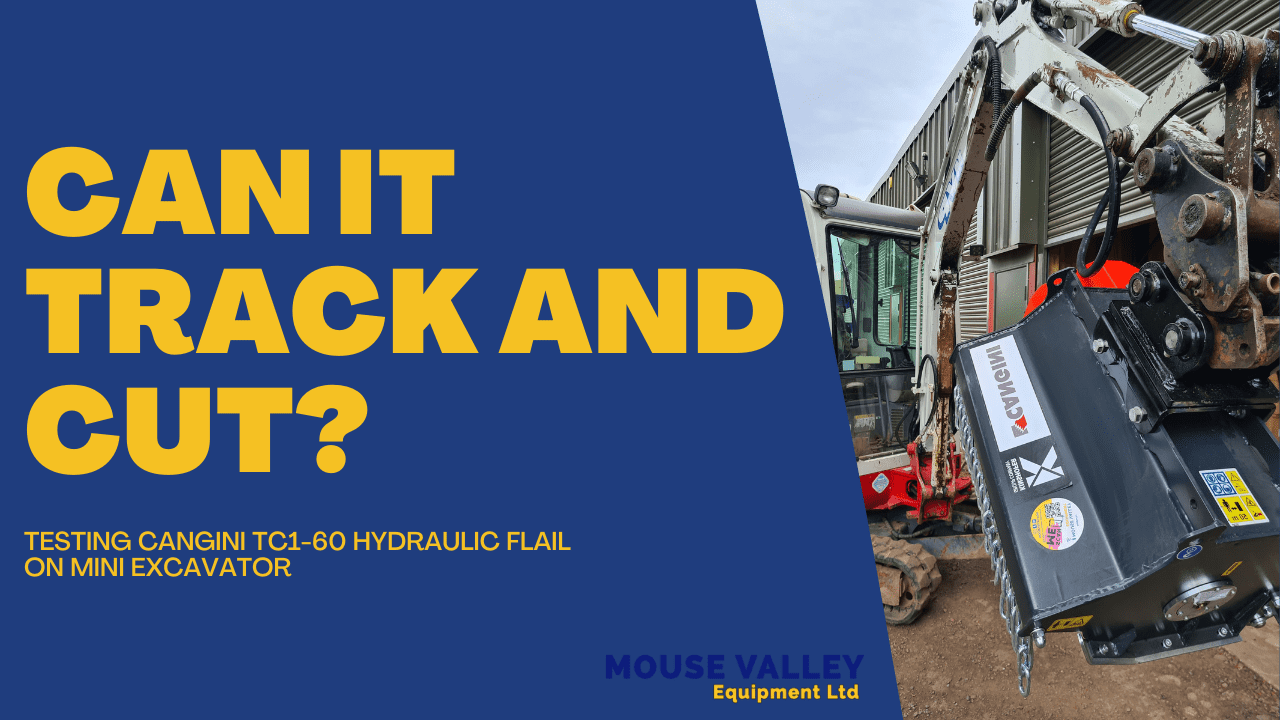
We often hear from our customers asking, “Can a flail on a mini excavator track and cut at the same time?” We’ve wondered the same thing. So, we decided to get to the bottom of this query and put the question to a practical test with one of the flails we sell, the Cangini TC1-60.

About the Cangini TC1-60

The Cangini TC1-60 is an excavator-mounted hydraulic flail with a 60cm cut width swinging hammer drum. Known for its robust construction and efficient performance, this flail has been a favourite among those who demand precision and power in their ground maintenance tasks.

The Experiment

Armed with a Takeuchi TB219 mini excavator and a Cangini TC1-60,  I set out to find whether this formidable machine can indeed track and cut simultaneously.

Test Day

Full disclosure: We went into the test blind, with no idea what the outcome would be. It was an exciting opportunity to see how the flail would perform under such circumstances. As William stated, the ultimate goal was to find out if the flail drum’s speed would decrease while tracking and whether it could balance out.

The Outcome

After a rigorous session of hedge trimming and tidying, it was clear that the Cangini flail on the Takeuchi could indeed track and cut at the same time! The result exceeded our expectations and answered the lingering question definitively.

Observations

While the flail did the job splendidly, I observed that the hitch bracket’s geometry needed adjustment for more comfortable operation, especially for vertical flailing. This minor hitch is easily addressed, improving the user experience immensely.

Versatility of the Cangini TC1-60

The experiment showed that while the hydraulic flail is not necessarily the first choice for hedgerows, its ability to cut and track simultaneously makes it a valuable tool for diverse ground maintenance tasks. Plus, with the correct depth of field and a bit of practice, operating the flail becomes an effortless task.

Final Thoughts

If there’s one thing we’ve learned from this experiment, it’s that a hydraulic flail, like our Cangini TC1-60, can indeed track and cut simultaneously. The test results were impressive, proving the Cangini’s prowess and versatility.

Learn More

For more insights and an in-depth look at the experiment, check out our video here. We love hearing from our readers and viewers, so please leave a comment or question below or on the video. We’re always eager to engage and answer your queries.

At Mouse Valley Equipment, we’re committed to providing top-notch equipment and insightful knowledge to all our customers. Stay tuned for more tests, reviews, and equipment showcases!

Contact Us

For more information on the Cangini TC1-60 and other excavator flails, click here. If you have any more questions you want us to try out or any other ideas for videos or blog posts, leave us a comment below or contact us directly. We’re here to help!

Posted on

Unpacking the Export Process: Cangini Mini Excavator Flail on Its Way to the USA

Cangini mini excavator flail

Packing an Order for Export: Cangini Mini Excavator Flail

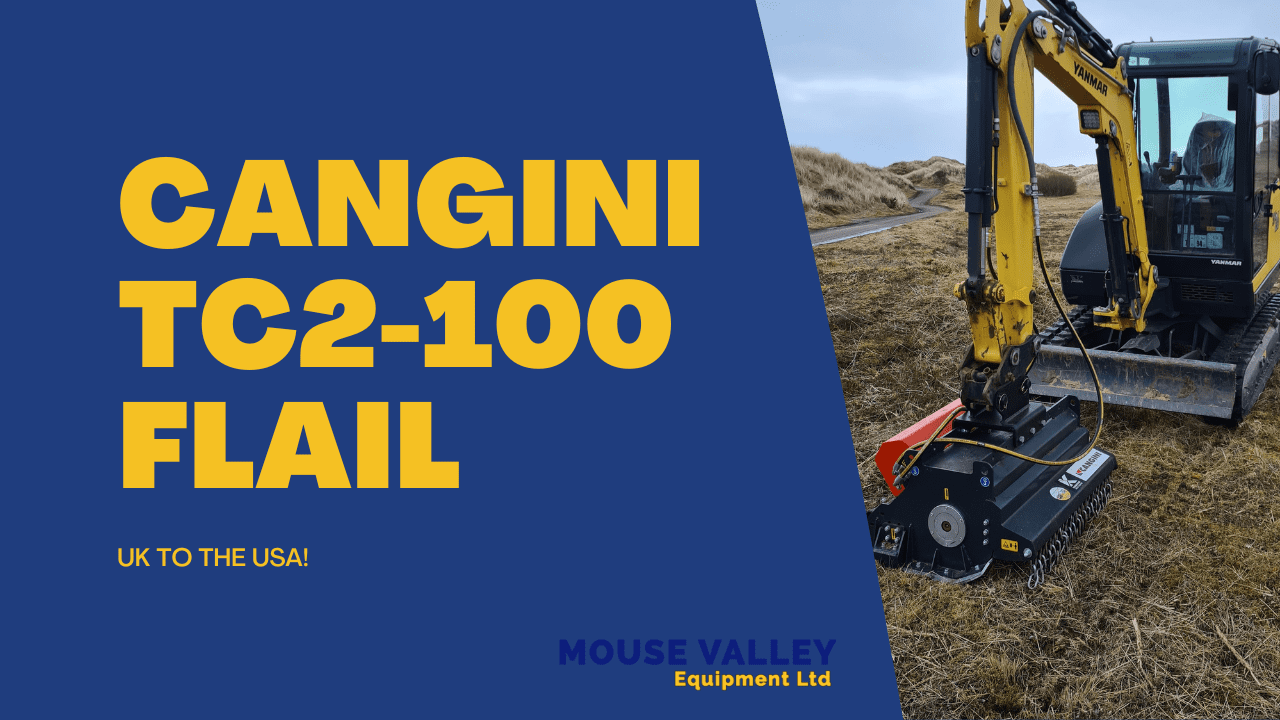
At Mouse Valley Equipment, we’re no strangers to sending our top-notch equipment across the globe. Today, we want to take you behind the scenes of packing another order for export to the United States: a Cangini mini excavator flail and log splitting cones.

Preparing the Shipment

With the high-quality Cangini flail and sturdy log splitting cones ready, the first order of business is to figure out how to fit these items in a wooden crate. This task is easier said than done, as we learned, especially when dealing with a pallet that is slightly longer than the flail. A little bit of pallet trimming and a change of plan later, we managed to fit the flail into the box while leaving it in its packaging to ensure it arrives in perfect condition.

Cangini TC2 Mini Excavator Flail

The Cangini TC2 is a top-of-the-line flail for mini excavators that we keep in stock. Equipped with swinging hammers, it’s ready to tackle any terrain, ensuring smooth operation and exceptional performance. Our flails are always equipped with swinging hammers as standard, ensuring they’re up to any task.

Packing the Flail and Log Splitter Cones

With the Cangini flail in the box, the next challenge was finding a way to fit in the three log splitter cones. Our initial plan to put a bit of timber in and place the cones on top didn’t quite work out due to height restrictions. However, with a bit of custom joinery, we created a secondary shelf to separate the cones from the flail, ensuring both the flail and the cones would be secure and undamaged during their journey.

Finishing the Packing Process

The next day, with a fresh mind and a bit of coffee, we resumed the packing process. A few final touches later, including packing the hoses, bracket, and placing a bit of timber on top for additional protection, the package was ready. With a label in place, it was time to wave goodbye to the shipment as it began its journey to the US.

A Partnership Across the Pond

Our work doesn’t end at shipping equipment. We’re closely connected with our partners, like The Attachment Company in Denver, Colorado, where this shipment is heading. Operating similarly to us, they stock Auger Torque equipment supplemented with other attachments. They have a more significant focus on skid steer attachments, but the principle remains the same.

Have Questions about Exporting or Our Equipment?

We’re always here to help! Whether you have questions about exporting, the Cangini mini excavator flail, or our other products, feel free to drop us a message or comment. We’re always eager to share our knowledge and experience.

Get in Touch with Us

We’re excited about the opportunities our Cangini flails can bring to your project. If you’re based in the US and interested in trying out one of our flails, reach out to Andrew at The Attachment Company, or drop us a message. We look forward to providing the tools you need to succeed.

Posted on

Unboxing and Setting Up Your Auger Torque Drive Unit: A Comprehensive Guide

Unboxing and Setting Up Your Auger Torque X2500 Drive Unit: A Comprehensive Guide

Unboxing and Setting Up Your Auger Torque Drive Unit: A Comprehensive Guide

We’re going to walk you through the contents of your Auger Torque drive unit package and how to set it up. This applies throughout the range of S4 drive units, from the X1500 through to the 4500MAX.

Unboxing Your Drive Unit

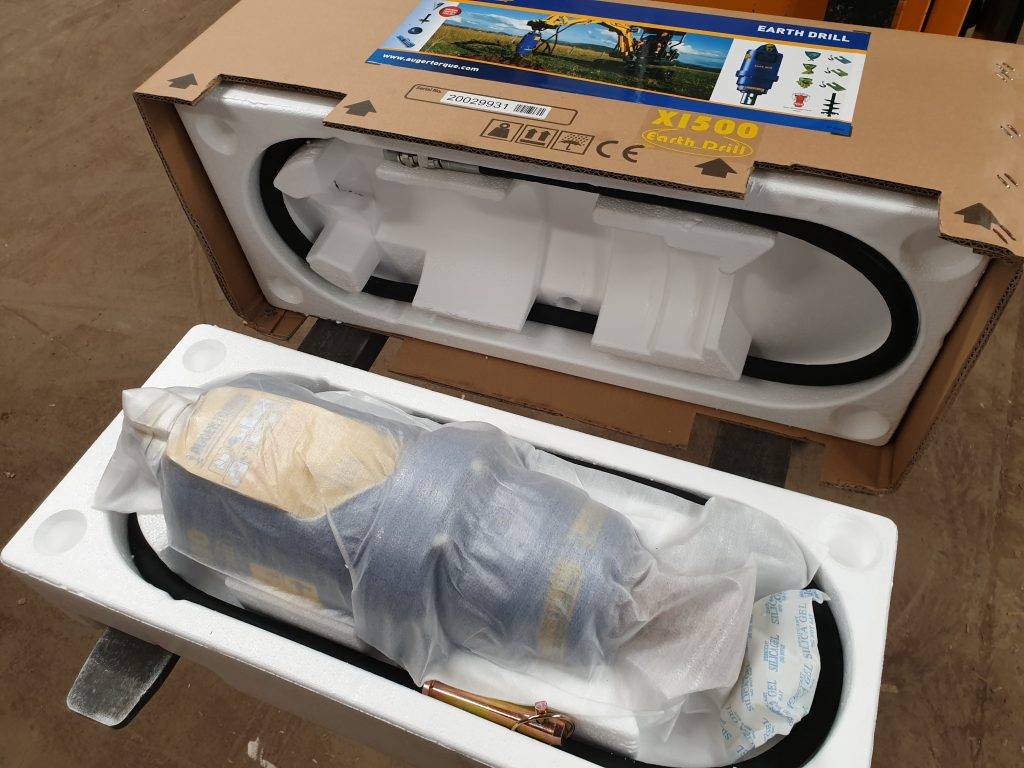
When your drive unit arrives, it will come in a box whether it’s a standalone drive unit or part of a package. Inside the box, you’ll find the main drive unit, an auger retaining pin and clip, and two hydraulic hoses. One hose is located at the bottom of the box, and the other is tucked away in the lid of the box.

Upon unpacking, you’ll notice that the drive unit comes with a warranty card that contains vital running-in details and instructions on how to register your warranty. You can either send the card back to us or register online via the provided URL.

Setting Up Your Drive Unit

As you prepare to set up your drive unit, you will find two hydraulic hose ports in the motor with blanking caps on them. For the S4 range, they are 1/2″ BSP. The first step is to remove both blanking caps, ensuring to take off the rubber seals to prevent leakage. The blanking caps are primarily for keeping dust and contaminants out of the motor during transport.

After removing the blanking caps, take the two 1/2″ PSP hydraulic hoses and screw them into the drive unit. Each hose will have a male and female fitting on either end, and on the female end of the hose, there will be two male-male adapters, one side of which will have a rubber dowty seal. Fit these male-male adaptors into the drive unit, ensuring the washer seal faces the port on the hydraulic motor.

A quick tip when attaching the hydraulic hoses: put the bottom one in first. This makes it easier to reach with a 27-millimetre spanner, the only tool you’ll need for this task. Tighten the bottom hose first with your spanner, then follow up with the top one. After that, you simply connect the female ends of your hydraulic hoses to the hydraulic motor.

Please note that quick release couplers are not included with our drive units. We can supply couplers to suit your machine, but as standard, they do not come in the box. Once you acquire your relevant couplers, they just screw straight onto the male end of the hose.

Remember, there is no specific order for these hoses or how you arrange your couplers. The drive unit rotates both clockwise and anti-clockwise and requires a double-acting hydraulic circuit, meaning there is no right and wrong way to fit these hoses.

Wrapping Up

Setting up your drive unit is fairly straightforward, and this method applies throughout the range of Auger Torque S4 drive units. However, remember that for the S5 drives, the setup process remains similar, but the hoses are larger, and it’s not 1/2″ BSP.

For a visual guide, we will be following up with a video showing you how to attach the cradle or hitch bracket, which pins through the top of your drive unit using the provided pin. If you’ve got any questions or need more information about our range of Auger Torque attachments, please visit our website at mousevalley.com, leave a comment, or give us a call. Our contact numbers and a WhatsApp number are available on the website. We also encourage you to subscribe to our YouTube channel and follow us on Instagram, Facebook, and TikTok to keep up to date with our latest news.

We hope this guide proves helpful as you set up your new Auger Torque Drive unit. However, we understand that you may still have queries or require additional assistance. Don’t hesitate to reach out to our friendly and knowledgeable team for further help or information. Visit our contact page and leave us a message. We’re dedicated to ensuring that your experience with our products is as smooth as possible. Remember, at Mouse Valley Equipment, we’re always here to help.